
To some dressing the loom is a favorite part of the weaving process. To others they just want it done quickly and accurately. I feel both sides of this coin! Today I’m going to share a few of my warping tricks to help you dress your loom fast and efficiently.

For starters, I warp from front-to-back. If you don’t know what that means, it simply means I thread through the reed first, then through the heddles. This was the way I was taught and though I’ve threaded back-to-front before I found it more time consuming and went back to this method. Generally dressing your loom front-to-back is considered faster and simpler, but back-to-front is better for tension and warp health.
By threading front to back you cut the need for lease sticks and a raddle. Both of which are really only used for back -to-front warping.

Warping Tools:
Before you start make sure to gather:
- sharp scissors
- threading hook
- measuring tape
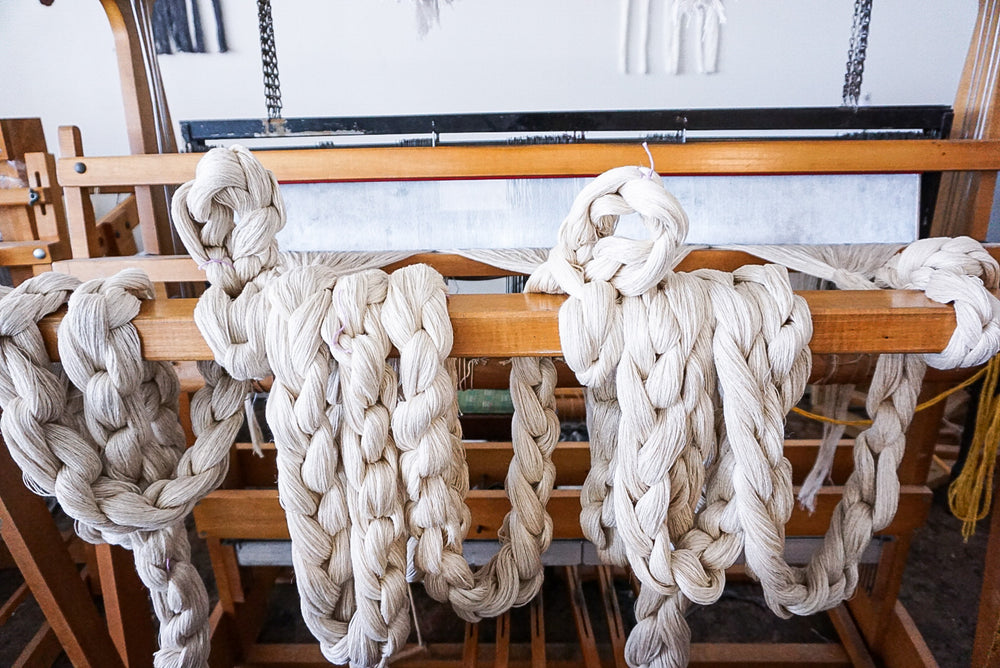
To begin measure out your warp on your warping board making sure you have a cross near one end of the warp – leave enough of a loop to get your hand through, but no more than about 5 inches. Secure your cross before taking it off the warping board in several places. I like to tie around my cross, and the top section on either side of the cross. I also tie a figure 8 around every two yards of warp just to keep them secure.

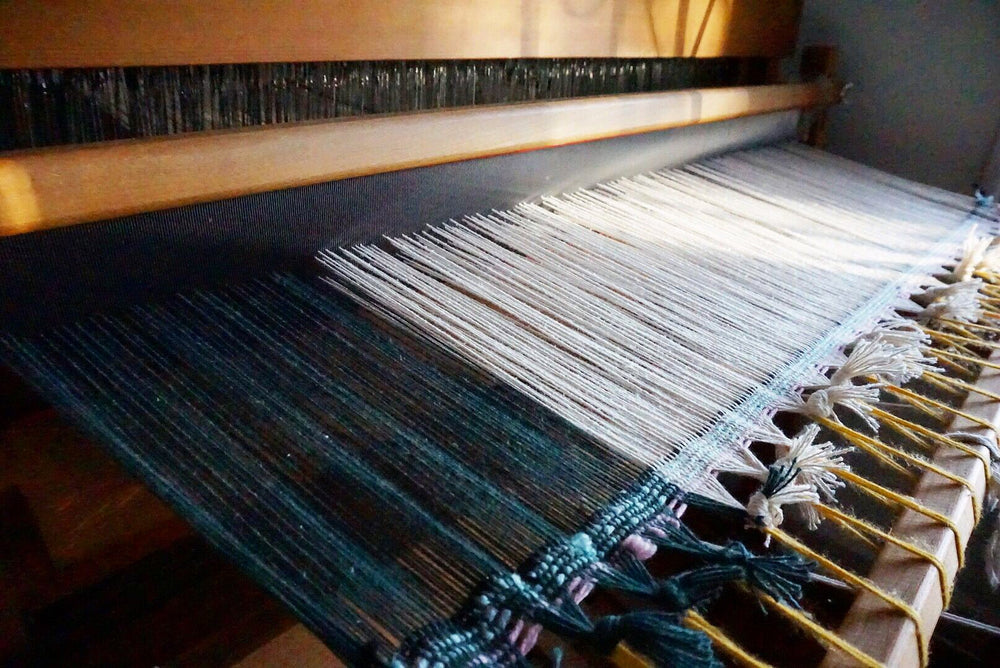
To remove it from the warping board use a hand crochet chain to make a tidy braid that won’t get tangled as you transport it to the loom. Next, make sure you have the correct reed in place and sit down at the front of your loom. I like to stretch out about a yard of my warp and then secure the remaining braided warp on the breast beam so that as I thread I don’t pull any threads unevenly.
Now, take your cross in your left hand (I’m right handed) so that your two middle fingers are inside the loop at the very end of the cross and your thumb is inside the shed leading to the rest of your warp. (See picture below.) Your pointer and pinky fingers should be outside the warp, but holding on. Get comfortable here – that finger position stay important throughout threading the reed.
Hold that Cross!

Measure out the width of your project on the reed. We will be starting at the right-most side. Now cut the loop at the very end of the warp- make sure you are still holding the cross in your hand! Trim any other ties you made around the cross so the yarn can be moved freely. With your right hand behind the reed slide the hook through to the front in the correct dent. Then, grab the topmost thread on your cross with the hook and pull it through. Make sure to pull enough through that it won’t easily slide back out if the reed moves a little. Continue this all the way down the reed till you are at the end of your warp. For beginners it’s a good idea to tie half knots every few inches of warp just in case so that your hard work does not go to waste in the reed moves. Look at you, already speed warping!
From here you will move to the rear of the loom. If your back beam is removable this is a good time to get it out of the way. I usually set up a chair behind the loom getting as close as I can to the heddles and straighten out my ends so they are coming through the reed smoothly, but are still secured to the front breast beam.
Count Your Heddle Groups
Here’s one of my favorite tips… It sounds simple, but it really helps save you from mistakes. Start in the middle of your loom – which should match up with the middle of your warp. We will thread from the center out to the right and then back from the center out to the left. Now, count out the set of heddles on each harness needed to complete one repeat (multiply this if it’s a short repeat.)

Here’s an example. I am doing a simple twill so my threading is 1, 2, 3, 4. Meaning one thread through one heddle on the first harness, one thread through one heddle on the second harness, one thread through one heddle on the third harness, and the same on the fourth. Since I only have to gather one heddle on each harness for this repeat I may gather 4 on each instead.
Now I have 16 heddles in my group – 4 on each harness- and I can start threading. You can gather the next batch of warp threads to be threaded to the right of your heddle group so you can more easily see the next thread in line. Tie off your groups in small batches as they are threaded.
If you get to the end of your group and are missing a heddle or have one left over you know you’ve done something wrong, but you don’t have to go back through your entire threading, just that group.
Finishing up
You did it! You’ve dressed the loom fast and now all thats left to do is tie on to the back beam and wind on! Happy weaving!